


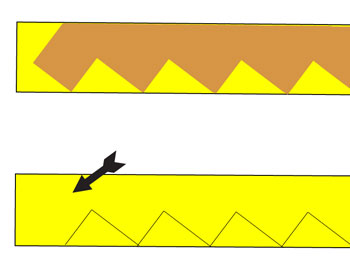
How To Layout Top of Stair Stringer
Before we get started, I need to point out that this
particular method for calculating and laying out a stair stringer, might
not apply to every situation.
There are plenty of other calculations and measurements that will need
to be considered, in order for your stairway to have equal sized treads
and risers.
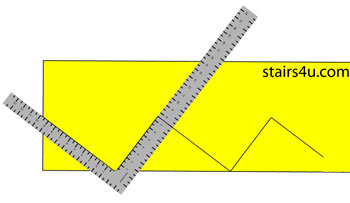
In this step you're going to line up the stair riser
measurement on the framing square up with the lower tread layout mark,
you already made on the stair stringer.
In our example I can refer to this as our last tread or upper step, but
this won't be the case all the time. Sometimes the upper stair stringer
section will be laid out, to blend in with a floor, landing or
deck.
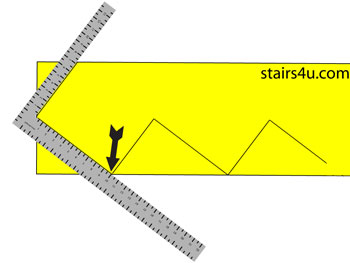
The black arrow in the illustration above is pointing to
the tread width measurement mark on the framing square. Remember, in our
example it will be 10 inches.
After you have positioned the framing square accordingly and doubled
checked all of your measurements, feel free to mark the end of the stair
stringer.
Remember, this mark might need to be moved to a different location, to
compensate for a ledger or floor joist head out.
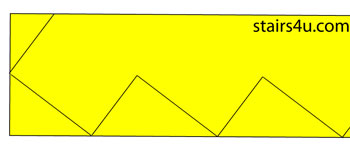
You should end up with something that looks like the illustration above, when you're done.
Back To How To Do It Yourself / How To Figure And Calculate Stair Stringers