How To Layout And Mark Stair Stringer

In the illustration above I'm going to provide you with an illustration of the stair stringer already laid out, while showing you how to layout stair stringer.
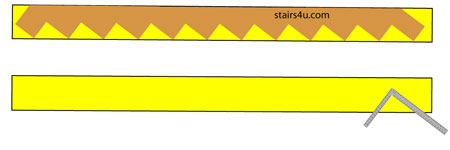
Feel free to refer back to these illustrations, if you
get lost at any time, while trying to figure out and calculate how to
layout the stair stringer.
The illustration above also provides you with a good place to start your
stair stringer layout.
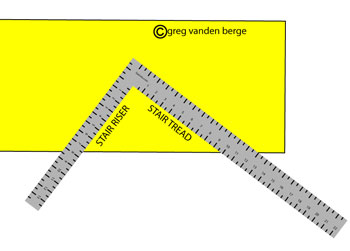
Before we continue, let's set up the framing square.
As you can see in the illustration above, the right side of the framing
square will be used to layout the stair treads and the left side of the
framing square, the stair risers.
In our example, we will be using a 10 inch stair tread or step and a 7
1/2 inch riser. You will be using the calculations you arrived with,
after figuring out and calculating your own stair treads and risers. If
you need more help, click on links below.
How To Figure And Calculate
Stair Treads
How To Figure And Calculate Stair Risers
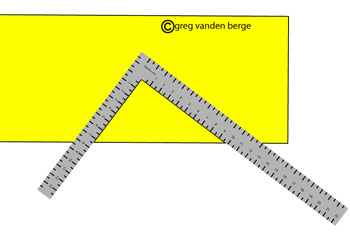
After you have lined up the framing square with the 10 inch mark on the right side and the 7 1/2 inch mark on the left side of the framing square, with the edge of the 2 x 12, you can mark your first lines for the treads and risers.
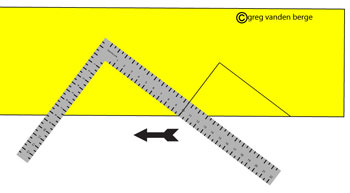
The next step will be to slide the framing square to the left, to line it up with the stair tread mark on the framing square. Remember your tread width and mark could be different and in our example, we are using a 10 inch wide tread, to represent this mark.
It's important, not to confuse our example, with your layout.

Even though you wouldn't be able to see the riser line
on top of the framing square, in this example, I thought it would help,
so I left it. It should provide you with a better idea, of what you're
doing.
The measurement mark on the framing square that represents your stair
tread must line up with the previous mark you made for the riser.
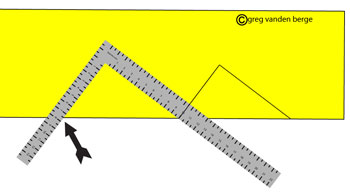
After you have lined up the stair tread measurement mark on your framing square with the previous riser mark, you will need to line the riser height mark on the framing square up with the edge of the 2 x 12 or what ever type of material or lumber you're using for your stair stringer.
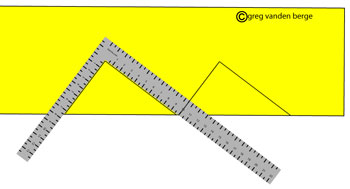
After everything has been lined up and you double checked all of your measurements, feel free to mark the next tread and riser.

Now that you have the hang of it, continue lining up
the framing square as shown in the steps previously and continue marking
the treads and risers, while working your way to the end of the 2 x 12
or whatever lumber you're using for your stair stringers.

By the time you're finished marking every tread and
riser, you should end up with something that looks like the illustration
above. Remember, if you only need five treads or steps, then only layout
five treads.
One of the biggest problems I've encountered, while teaching others how
to layout and calculate stair stringers is that they tend to use the
measurements in my example, instead of their own.
If you calculated a 7 1/4 inch riser and a 10 1/2 inch stair tread, then
use those measurements.
Next - How To Layout Bottom of Stair Stringer
Back To - How To Do It Yourself / How To Figure And Calculate Stair Stringers


