Stringer Layout

The stair stringer
layout is going to be the most important part of the stair building
process. Please pay attention, because each step along the way is going
to be critical.
In this example we're going to show you how to lay out a three-step
stairway. We will be using a 2 x 12 for the stair stringers and our
riser height will be 71/2 inches, with a tread width of 10 inches.
Stair Stringer Questions And Answers
Setting Up The Framing Square

Find a comfortable place to work and it wouldn't be a bad idea to grab
yourself a nice drink and make yourself comfortable. If you have saw
horses, then it wouldn't be a bad idea to place your 2 x 12 on top of
them.
Try to create a nice comfortable working environment, where you won't be
bent over, for long periods of time. I like to use 36 inch tall
sawhorses.
The next thing you need to do is position your framing square on top of
the 2 x 12, with your riser measurement on one side and your stair tread
measurement on the other side. Line each side up with the edge of the 2
x 12.
Marking And Laying Out The Stringer

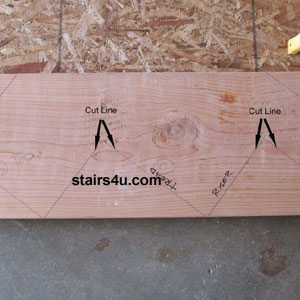
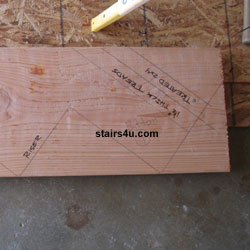
After you have positioned the framing square at either end of the 2 x
12, you can start marking each individual stair tread and riser. After
you have marked the first one, move it to the left or right, to mark the
next one and continue working your way, down the 2 x 12, until you have
marked out enough steps, for your new staircase.
Be careful here, because the front of your stair tread measurement will
need to line up with the top of previous stair riser, in order to layout
the stair stringer correctly.
Laying Out Bottom Of Stair Stringer

You're going to need to subtract the stair tread width from the bottom
of the stair stringer. The reason for this is to lower the entire
staircase.
If you didn't subtract the width of the stair tread, from the bottom of
the stringer, it will push the entire stairway up and you will have
problems with your first and last steps.
You will also need to subtract any additional construction materials
that will be installed underneath the stair stringer.
For example, if you're going to use a piece of 2 x 4 treated lumber, to
separate your wood stair stringers from the
concrete foundation, you
will need to subtract the width of the 2 x 4, also.
Top Stair Stringer Connection Layout

The top of the stair stringer can connect in a few ways. However, the structural floor framing and design, of the stairway will determine the type of connection, required.
Stair Ledger Connection

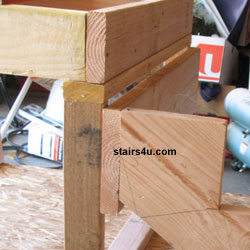
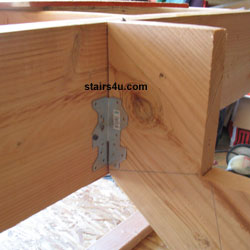
This is where you will nail a 2 x 12, on to a wall and use it to connect
your stair stringer to a landing or floor. This is the most common
method used by stair builders and if you can use it, you should.
You will need to subtract the thickness of the ledger, from the top
tread.
For Example: If you have a 10 inch stair tread and you're going to use a
1 1/2 inch thick, 2 x 12 for your ledger, you will need to subtract 1
1/2 inches from the upper step, leaving you with a 8 1/2 inch stair
tread, at the very top of your stair stringer.
Floor Stringer Connection
This is where the last stair tread will actually become part of the finished floor. Using this method will require a little more finesse, because you will need to lay out the floor framing, to match the stair stringer measurements.
- How To Figure And Calculate Stair Stringers
- How To Layout And Mark Stair Stringer
- How To Layout Bottom of Stair Stringer
- How To Calculate And Adjust For First Step
- How To Layout Bottom of Stringer For Concrete
- How To Layout Bottom of Stringer For Wood Framed Floors
- How To Layout Bottom of Stringer For Landing
- How To Layout Bottom of Stringer With Building Hardware
- How To Layout Top of Stair Stringer
- How To Figure And Calculate Stair Stringer Lengths
Back To - How To Build Stairs
Next - Cutting Stair Parts or Cut Stringer


